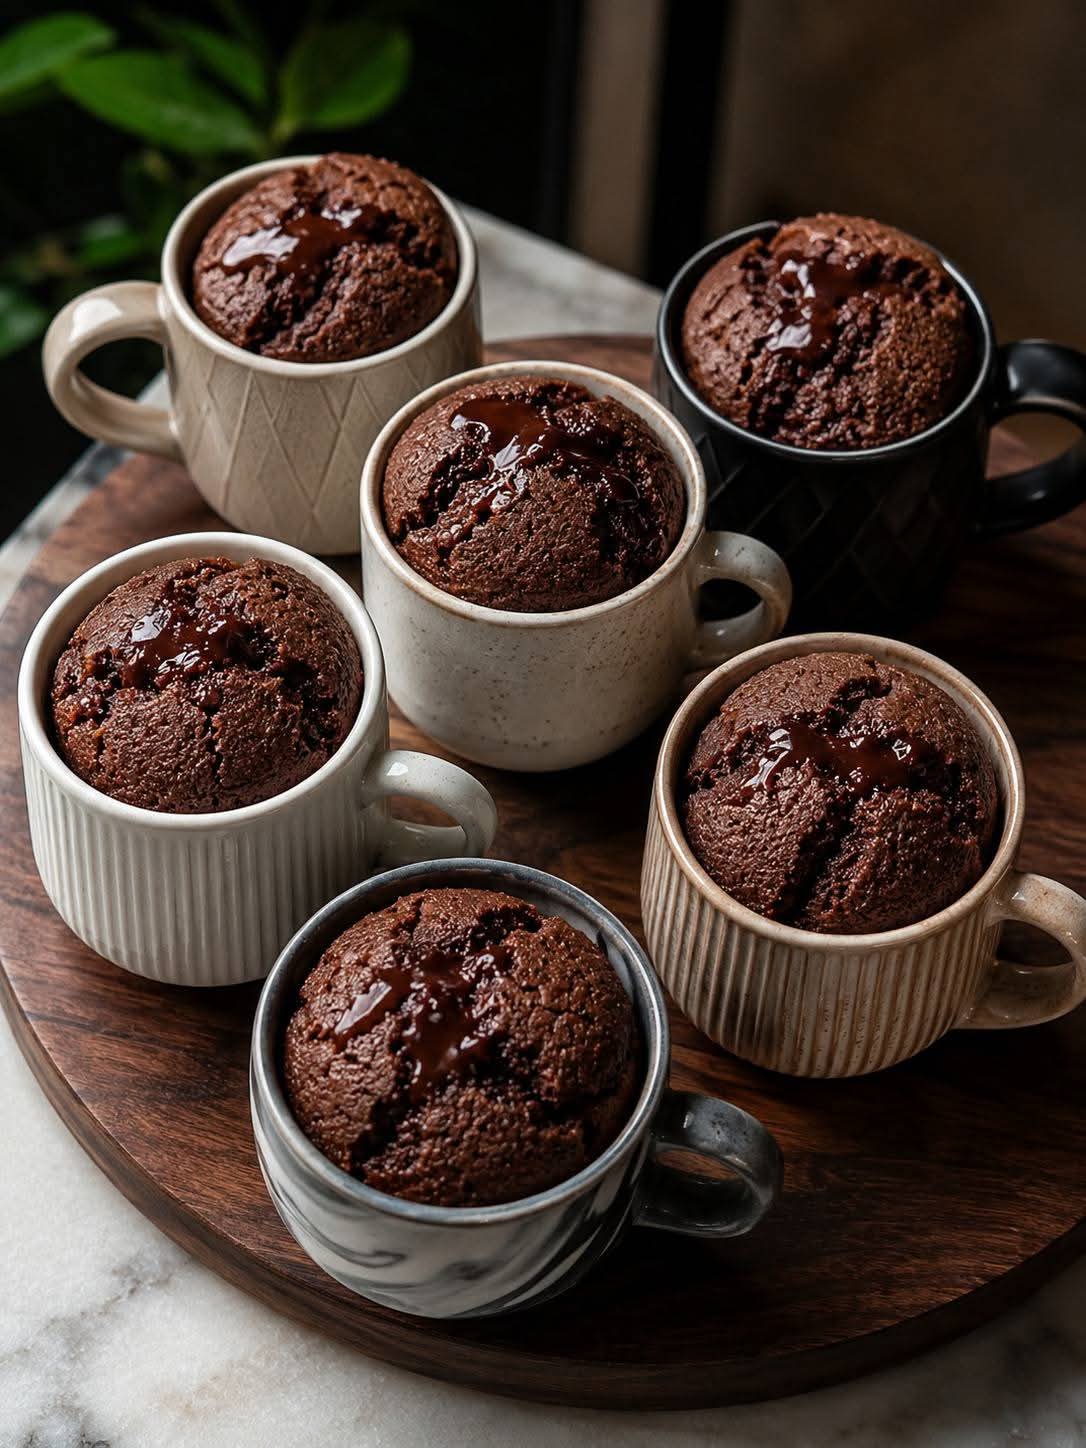
Post Views: 132Table of ContentsChocolate Lava Mug Cake (Soft & Gooey Mini Cakes)IngredientsStep 1: Prepare Your EquipmentStep 2: Mix the Dry IngredientsStep 3: Combine the Wet IngredientsStep 4: Combine Wet and Dry MixturesStep 5: Add Hot LiquidStep 6: Add Chocolate ChipsStep 7: Fill the MugsStep 8: Bake the CakesStep 9: Cool SlightlyStep 10: Add Chocolate ToppingStep 11: Serve and EnjoyTips for Perfect Mug CakesVariations You Can TryStorage TipsFinal Thoughtsenjoy!Chocolate Lava Mug Cake (Soft & Gooey Mini Cakes)These rich, moist chocolate mug cakes are the perfect quick dessert. Baked individually in cups, they come out soft, fluffy, and slightly gooey in the center, with a glossy chocolate topping that makes them irresistible. This recipe is simple, requires basic ingredients, and delivers bakery-style results at home.IngredientsTo make 6 mug cakes, you will need:1 cup all-purpose flour½ cup unsweetened cocoa powder1 teaspoon baking powder½ teaspoon baking soda½ teaspoon salt¾ cup granulated sugar½ cup brown sugar2 large eggs½ cup vegetable oil or melted butter¾ cup milk (room temperature)1 teaspoon vanilla extract½ cup hot water or hot coffee (enhances chocolate flavor)½ cup chocolate chips or chunksFor topping (optional but recommended):½ cup melted chocolate or chocolate syrupStep 1: Prepare Your EquipmentStart by preheating your oven to 180°C (350°F). This ensures even baking from the beginning. Take 6 oven-safe mugs or ceramic cups and lightly grease them with oil or butter. This step prevents sticking and helps the cakes slide out easily if needed.Place the mugs on a baking tray so they are easy to move in and out of the oven.Step 2: Mix the Dry IngredientsIn a large mixing bowl, combine the flour, cocoa powder, baking powder, baking soda, and salt. Whisk everything together thoroughly to remove lumps and ensure even distribution.This step is important because cocoa powder tends to clump, and uneven mixing can affect the cake texture.Step 3: Combine the Wet IngredientsIn another bowl, add the eggs, granulated sugar, and brown sugar. Whisk until the mixture becomes slightly pale and smooth.Now add the oil (or melted butter), milk, and vanilla extract. Mix well until everything is fully combined and smooth.The oil helps keep the cake moist, while the milk adds richness and balances the cocoa.Step 4: Combine Wet and Dry MixturesGradually pour the wet mixture into the dry ingredients. Stir gently using a spatula or whisk.Do not overmix. Mix just until everything is combined and you have a smooth batter. Overmixing can make the cakes dense instead of soft and fluffy.Step 5: Add Hot LiquidNow slowly pour in the hot water or hot coffee while stirring continuously. The batter will become slightly thin, which is perfectly normal.This step enhances the chocolate flavor and helps create that soft, moist texture inside the cakes.Step 6: Add Chocolate ChipsFold in the chocolate chips or chunks. These will melt during baking and create gooey pockets of chocolate inside each cake.You can also press a few extra chocolate pieces into the center of each mug later for a lava-like effect.Step 7: Fill the MugsPour the batter evenly into the prepared mugs, filling each about ¾ full. Do not overfill, as the cakes will rise during baking.If you want a molten center, add a small piece of chocolate in the middle of each mug before baking.Step 8: Bake the CakesPlace the tray with mugs into the preheated oven. Bake for 15–20 minutes.For a gooey center: bake for around 15 minutesFor fully set cakes: bake for 18–20 minutesCheck by inserting a toothpick near the edge (not the center). It should come out mostly clean.Step 9: Cool SlightlyRemove the mugs from the oven and let them cool for about 5–10 minutes. This allows the cakes to set slightly while keeping the inside soft and warm.Be careful, as the mugs will be very hot.Step 10: Add Chocolate ToppingDrizzle melted chocolate or chocolate syrup over the top of each cake. The warmth of the cake will slightly melt the topping, creating a glossy, rich finish like in your image.You can also sprinkle powdered sugar or add a pinch of sea salt for extra flavor.Step 11: Serve and EnjoyServe the cakes warm directly in the mugs. They pair perfectly with:Vanilla ice creamWhipped creamFresh berriesWhen you cut into the cake, the inside should be soft and slightly gooey, making each bite rich and satisfying.Tips for Perfect Mug CakesUse room temperature ingredients for better mixingDo not overbake, or the cakes will become dryUse good-quality cocoa powder for a deep chocolate flavorAdd coffee instead of water to enhance taste (optional)Try different add-ins like nuts or caramel piecesVariations You Can Try1. Nutty Chocolate Mug CakeAdd chopped walnuts or almonds for a crunchy texture.2. Double Chocolate Lava CakeInsert a cube of chocolate in the center for a molten core.3. Chocolate Banana Mug CakeMix in mashed banana for natural sweetness and moisture.4. Peanut Butter Chocolate CakeSwirl peanut butter into the batter before baking.Storage TipsThese cakes are best enjoyed fresh. However:You can store leftovers in the refrigerator for up to 2 daysReheat in the microwave for 20–30 seconds before servingFinal ThoughtsThis chocolate mug cake recipe is simple, quick, and incredibly satisfying. It’s perfect for gatherings, family desserts, or even a late-night sweet craving. The individual mug presentation makes it look modern and stylish, just like your image, while keeping the texture soft and rich inside.Once you try this recipe, you can easily customize it to your taste and create endless variations.enjoy!
Chocolate Lava Mug Cake (Soft & Gooey Mini Cakes)